DEVICE CONFIGURATION​ & REGISTRATION

Follow the following Procedure to configure Smoke Detector Device.

STEP: 1

    • Turn ON the smoke detector and Press Test Button for 5 seconds (Till Buzzer beeps 6 times).
    • Device will switch mode to AP Mode [Smoke detector as Router].
    • In AP mode  connect Smoke detector to your Wi-Fi using  SSID and password.
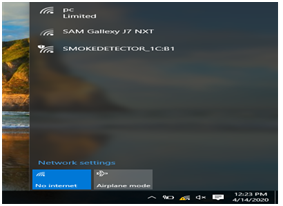
    • Now search for the Smoke Detector SSID (as shown in picture below) [SMOKEDETECTOR_1CB1] in Laptop’s (or Mobile).

STEP 2

For Device Configuration:

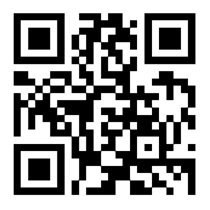
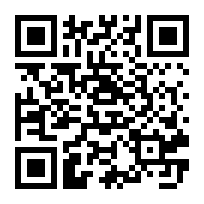
Scan the QRCode for device registration or click on the below url

    • Connect to smoke detector AP SMOKEDETECTOR _1CB1
    • Smoke detector AP is configured connected with Open SSID, so we don’t need password to connect to Smoke Detector AP.
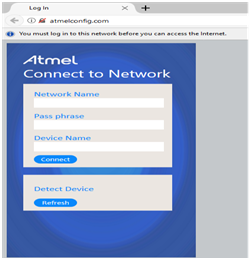
    • After the successful connection with Smoke Detector, Open the configuration page [atmelconfig.com] using web browser or you can scan the QR code of device configuration given on the box. The web page opens in the default browser as shown below.
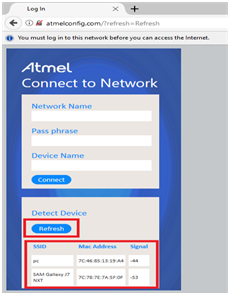
    • Click Refresh to scan all the available APs or routers.
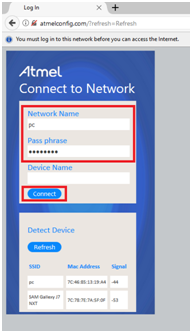
      • Enter the required Home router credentials and password.
      1. Click Connect to transfer credentials to the Smoke detector.
      2. Smoke detector shall change mode to SSID mode and try to connect with Home router with configured credentials.

STEP 3

DEVICE REGISTRATION

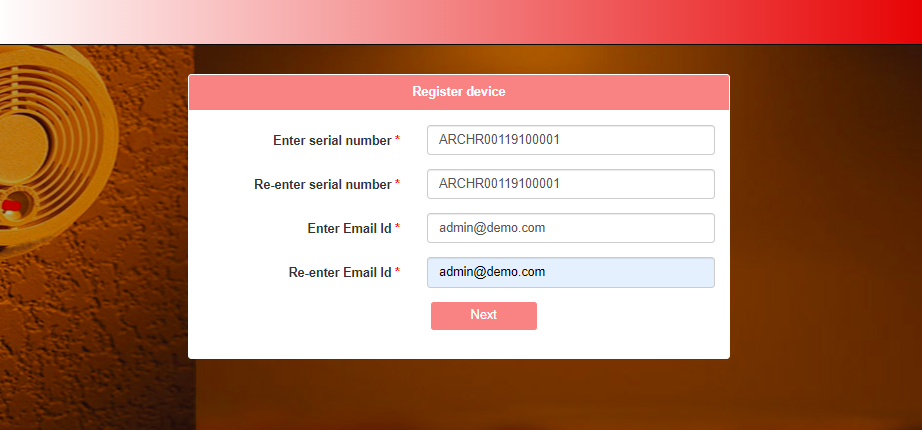
        • Open browser and copy below URL or Scan the QR Code of device registration given on box.

http://52.220.159.233/SmokeDetector/devicergistraion/index/

    • Above screen will allow us to register particular device by using unique email id
    • Fill the 16 digit unique serial number mention with device

 e.g. “ARCHR00119100001”                           –without quotes

    • Fill the valid email id

e.g. “admin@companyname.com”                 –without quotes

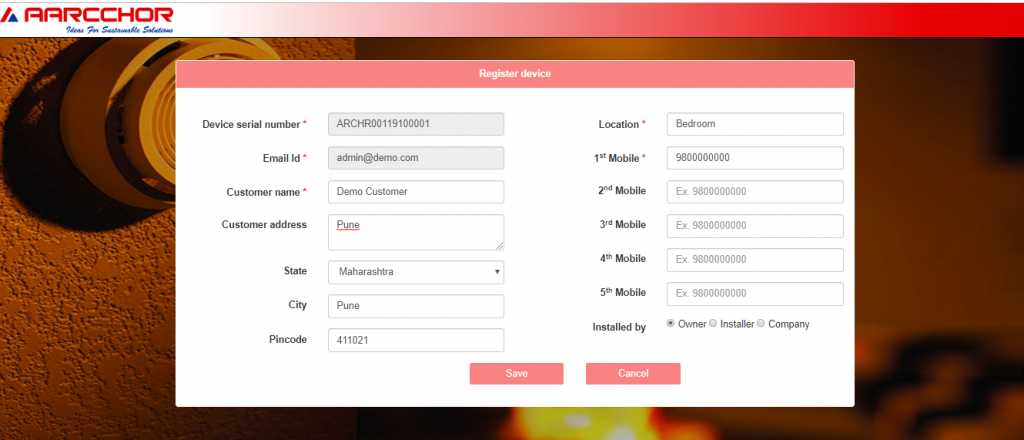
    • After filling above detail just click on “NEXT” button, fill your details according to the credential like address, device location & mobile numbers.
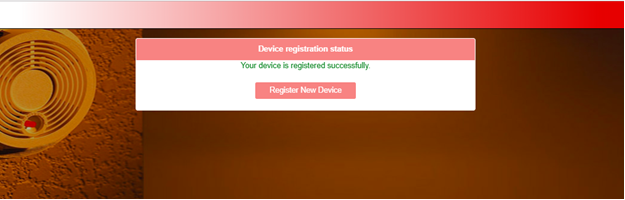
      • After filling the basic installation information detail, the device will get successfully registered under customer email id
      • After successful registration this screen will be shown.